If at first you don't succeed,: Try, try, try again
This week of work was mostly considered to be fixing past errors from before or refining something from previous iterations.
HDRI FIXES
First I set my sights on fixing the HDRI from before. I forgot to take off the levels adjustment I placed on the image to paint out the tripod and shadow, thus making the image much darker. I fixed this problem quickly by just deleting the layer and exporting the corrected version.

Exporting the HDRI out as a PNG to use for this blog has severely darkened the image.
PHOTOSCANS
Now after that I took another stroll out to Tybee Island, GA to take another, higher quality, photoscan of the beach. Hopefully the plan is to place a small layer of sand over the top of the geometry and sell that there is a large amount of sand. Thus saving on sim times later on….hopefully.


RENDER LAYERS
REFLECTION
Finally my last item this week was starting with pipeline and render passes. Starting to get these laid out for the compositor is going to be vital to the finishing of this project.
I started working with getting reflections of the water onto the car as a proof of concept. This was completed by simply placing surface shaders onto the ground, projecting the rendered frame from the camera of the water renders form FX onto the ground plane. Thus giving the reflection of the water onto the bottom of the car.

FRESNEL
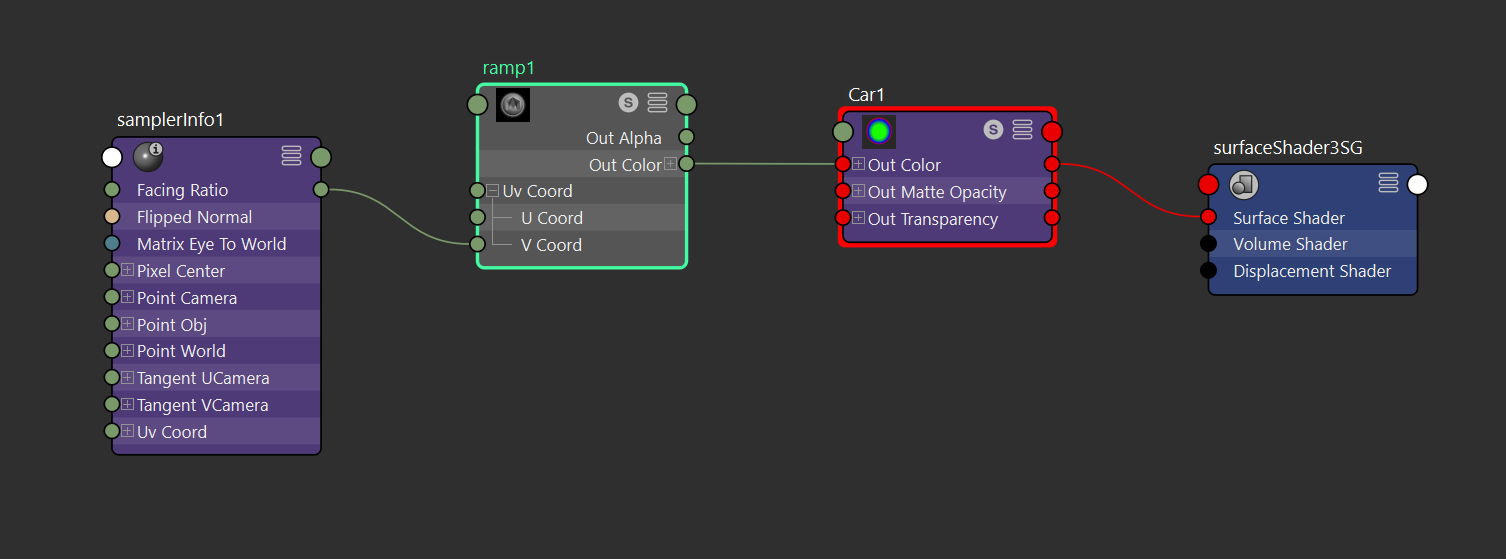
After this I started working with Fresnel. Allowing the compositor to easily pick how much reflection/refraction is going to really help sell this as photorealistic.


This will allow the Compositor the select the color value they wish to use as a selection. Therefore changing the reflections of lets say green less, because it is facing the camera more, or having red have more reflection because it is facing the most level with the camera.
This was done by placing a Maya Surface Shader on the car and plugging a ramp into the Color Out. Plugging the Facing Ratio from the “SamplerInfo” node into the V coordinates of the Ramp gives this effect on the car. Allowing the compositors job a little easier.
TO DO:
Next on my list of things to do is gather rocks for the foreground and get those into the light rig, as well as the compositor is getting a list of objects she wants grouped together for different Render Layers using roughly the same method as with Fresnel, but with solid colors instead.
Animation and Shading
This week after talking with the Mill I set off to animate the car and get some cameras in the scene. I at first had one long timeline with three different camera moves in it, however we ran into a problem with the FX side. The car moves in different ways and in different parts at different speeds. Thus making it impossible for our FX member of the team to properly sim it. I roughed out the animation using the rigging tools and setting key frames where needed. After a while I finally reached a point for the Pre-Vis that showed us the rough idea of where we are going.
I also took the HDRI from before and painted out the tripod and shadow of myself. This was much easier than I originally thought it would be. I simply just threw it into Photoshop and Clone Stamped myself out.

I might have changed the levels a bit too much, depending on what feedback I am given tomorrow in the meeting.

The final thing I did this week was more shader work.

These are just strait shading materials no textures. I will move into more detail as time moves on however for right now the main goal was to not have the grey Lambert shader on the car. I am struggling with the displacement on the tires right now. It is not creating a deep enough cut into the tire, however when I bump the displacement up to get the effect I want it leaves a gap in the sidewall. This will be the first hing on my list next week to get working properly.
I also need to separate my quilt into different categories. Telling the difference between brushed aluminum, chrome, and reflective metal. This will be fixed for the next turntables coming up.
I’m excited for the work coming up. Shading work is about to get real.
Bond...Team Bond
Day two was a bit less stressful than the rest however this is where we found out our teams! I was placed with an amazing compositor, Katie Veneman, and a brilliant FX artist, Dale Bunten. We were dubbed Team Bond, and decided that we liked the ring to it. So we are Bond…Team Bond.
We sat down together and started to rack our brains to find out something that could be done that would be both challenging and fun at the same time. Dale was very interested in the idea of having water in the scene wanting to push his skills of the FLIP Fluid solver in Houdini. It was on this path that we found an amazing video that inspired this entire project for us.
The Range Rover’s Taming the Tide video was exactly what we pictured and was an amazing reference to have going into this. But with only an idea on what to do we quickly broke down and decided to take the weekend to fully get ideas going and ready to go.
That weekend I was tasked with figuring out what lighting and mood we were going for with this project. While in the reference video it is overcast, I wanted this to go another way. Bright white beach, bright blue sky, and the warmth of glow from the setting sun to round the entire composition together.
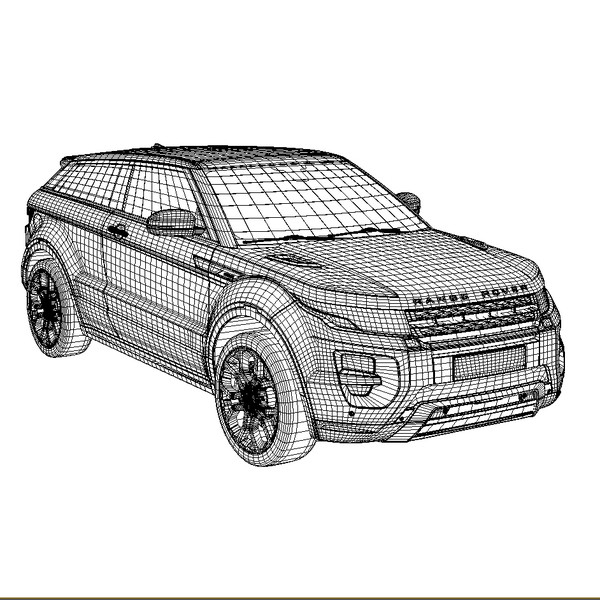
We also have picked out the model that we want to use and will purchase it when we get the okay from The Mill!
We got our reference material together and will be pitching this Wednesday. After that, there is no going back, it is going to be pedal to the metal to finish this project in only 9 weeks.